Manufacture of optical components
Nov. 06, 2023
Optical elements, as the basic component units of an optical system, largely determine the performance of the optical system. The development of optical elements from spherical to aspherical surfaces can greatly enhance the performance of optical systems. With the development of science and technology, people have higher and higher requirements for the performance of optical systems. Therefore, aspherical surfaces, especially free-form optical elements, play an increasingly important role in modern optical systems.
Free-form surfaces are a class of non-rotational, non-symmetric, free-form surface shapes that can be used for extreme performance in many areas. For example, by adopting free-form surfaces in lighting systems, designers can reasonably control the light scattering angle and light intensity distribution according to the needs and realize complex light illumination, thus improving light energy utilization and lighting quality; in helmet display (HDM), micro projector, etc., free-form surfaces have small size and light weight, and they are effective in correcting the aberration of non-co-axial systems in a large field of view, thus providing high imaging quality. Greatly promote its practical application; in the more demanding defense, aerospace, space telemetry and other high-tech fields, the use of free-form surface optical technology, the volume of optical instruments can be reduced to about one-fifth of the original, and the image quality obtained is also better than the original.
The manufacturing and inspection technology of optical mirrors have been two major problems that restrict the wide application of optical components, especially the inspection of large-diameter aspherical mirrors. Among them, optical inspection technology is a prerequisite to ensure the high-precision manufacturing of optical free-form surfaces.
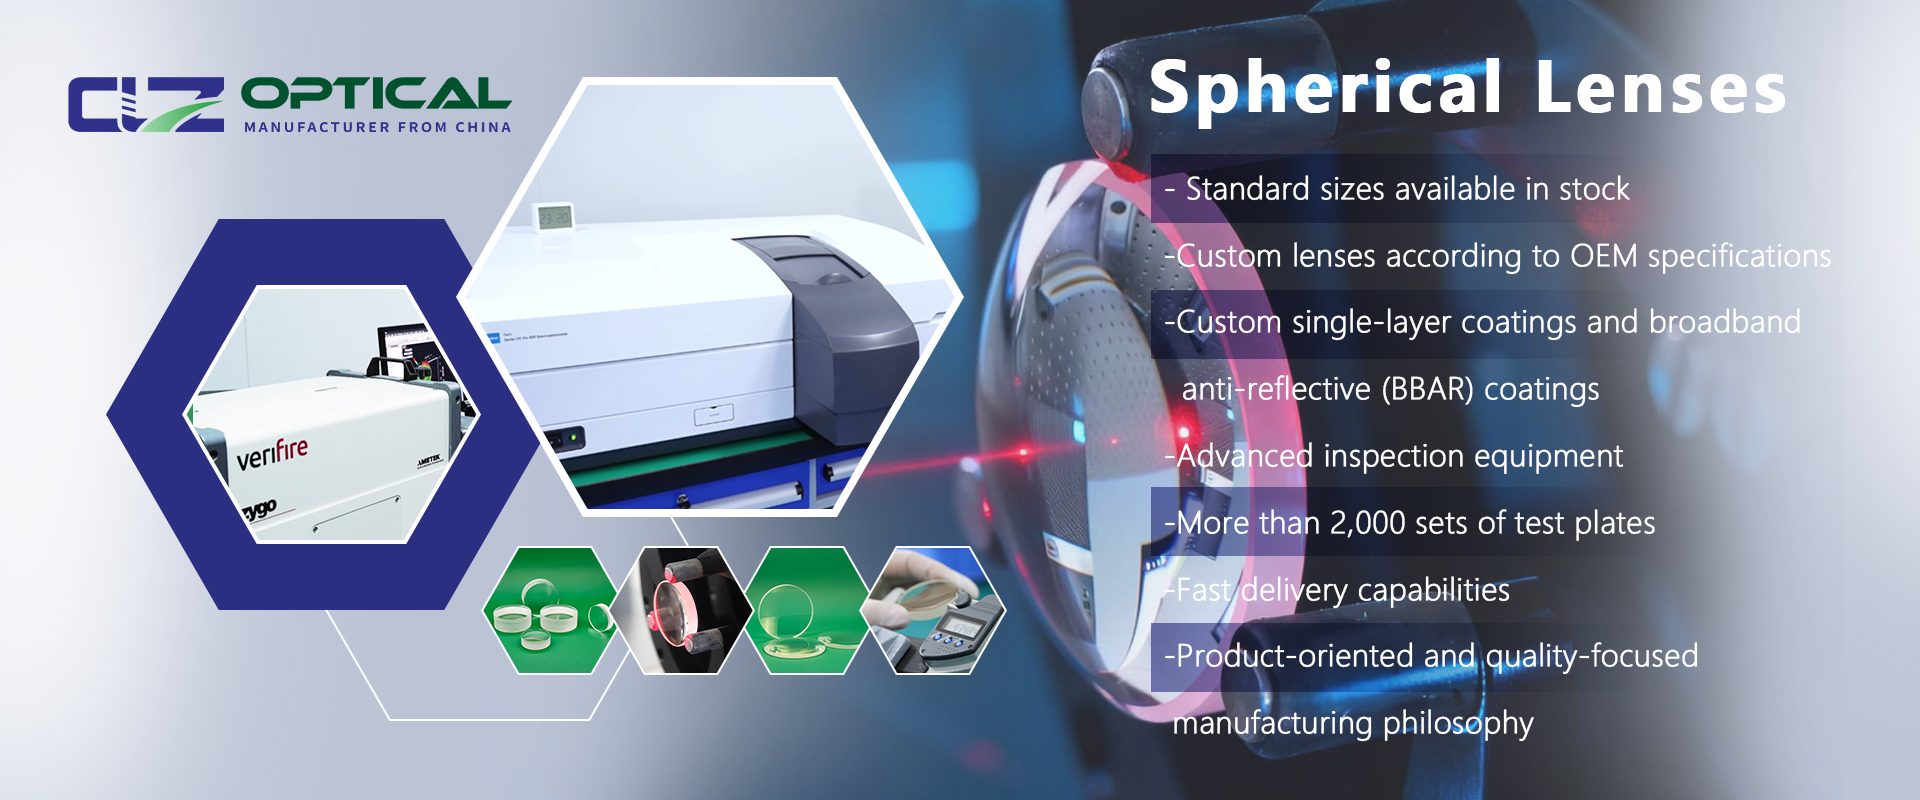
The manufacture of high-precision optical lenses generally goes through three stages: molding, grinding, and polishing. In the molding and grinding stage, the contour measurement method and laser tracker method are mostly used. Among them, the instruments of contour measurement method are contour meter and coordinate measuring machine. This type of measuring equipment uses a probe to contact the surface of the measured part point by point, and collects the contour data.
Entering the polishing stage, the face shape error drops to the sub-micron order of magnitude. Polishing is divided into initial polishing and post-polishing, and different polishing stages correspond to different inspection methods. In the initial polishing stage, the face shape error is still beyond the dynamic range of visible light interferometry, and the detection means in this range is the key to determine the over-processing of optics. In this stage, the detection means are mainly infrared interferometer detection, structured light detection, wavefront detection and mutual cross-validation methods.
The light source of the infrared interferometer has a wavelength of 10.6 micrometers, and the long-wavelength coherent light can be effectively reflected on rough surfaces, thus enabling measurements on aspherical and rough surfaces with large deviations.
Structured light measurement is to use the phase information stripe as a carrier for light tracing, use the law of reflection of light to get the normal vector, and integrate its slope to get the surface shape distribution.
In the late polishing stage of optical components, interferometry is generally used to realize high-precision final inspection of the face shape. For the inspection of aspherical and free-form surfaces, they are generally categorized into zero-position interference and non-zero-position interference. Zero-position interference is designed to compensate the deviation of the measured aspheric and free-form surfaces from the closest spherical surface by designing a compensator or computational holography, which converts the aspheric deviation into spherical deviation for measurement. Computational holography has been deeply studied and widely applied in the detection of aspherical surfaces as well as off-axis aspherical surfaces, and is considered to be the most mature high-precision aspherical surface detection technology at present. Non-zero interference strategy technology, i.e., sub-aperture splicing detection technology, which is a direct segmentation test of the surface, the final shape of the spliced data points, high resolution, which has greater advantages in the detection of free-form surfaces.
In the process of optical lens manufacturing, different optical inspection methods play an important role, which ensures that the optical lens processing to obtain accurate data and processing direction of knowledge, significantly affecting the accuracy of the entire optical lens, efficiency, is one of the core technologies of high-precision optical components manufacturing.
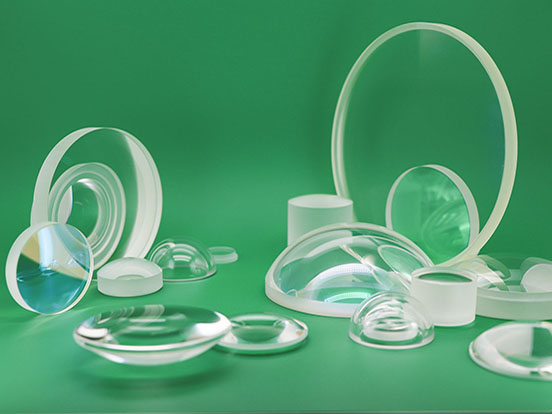
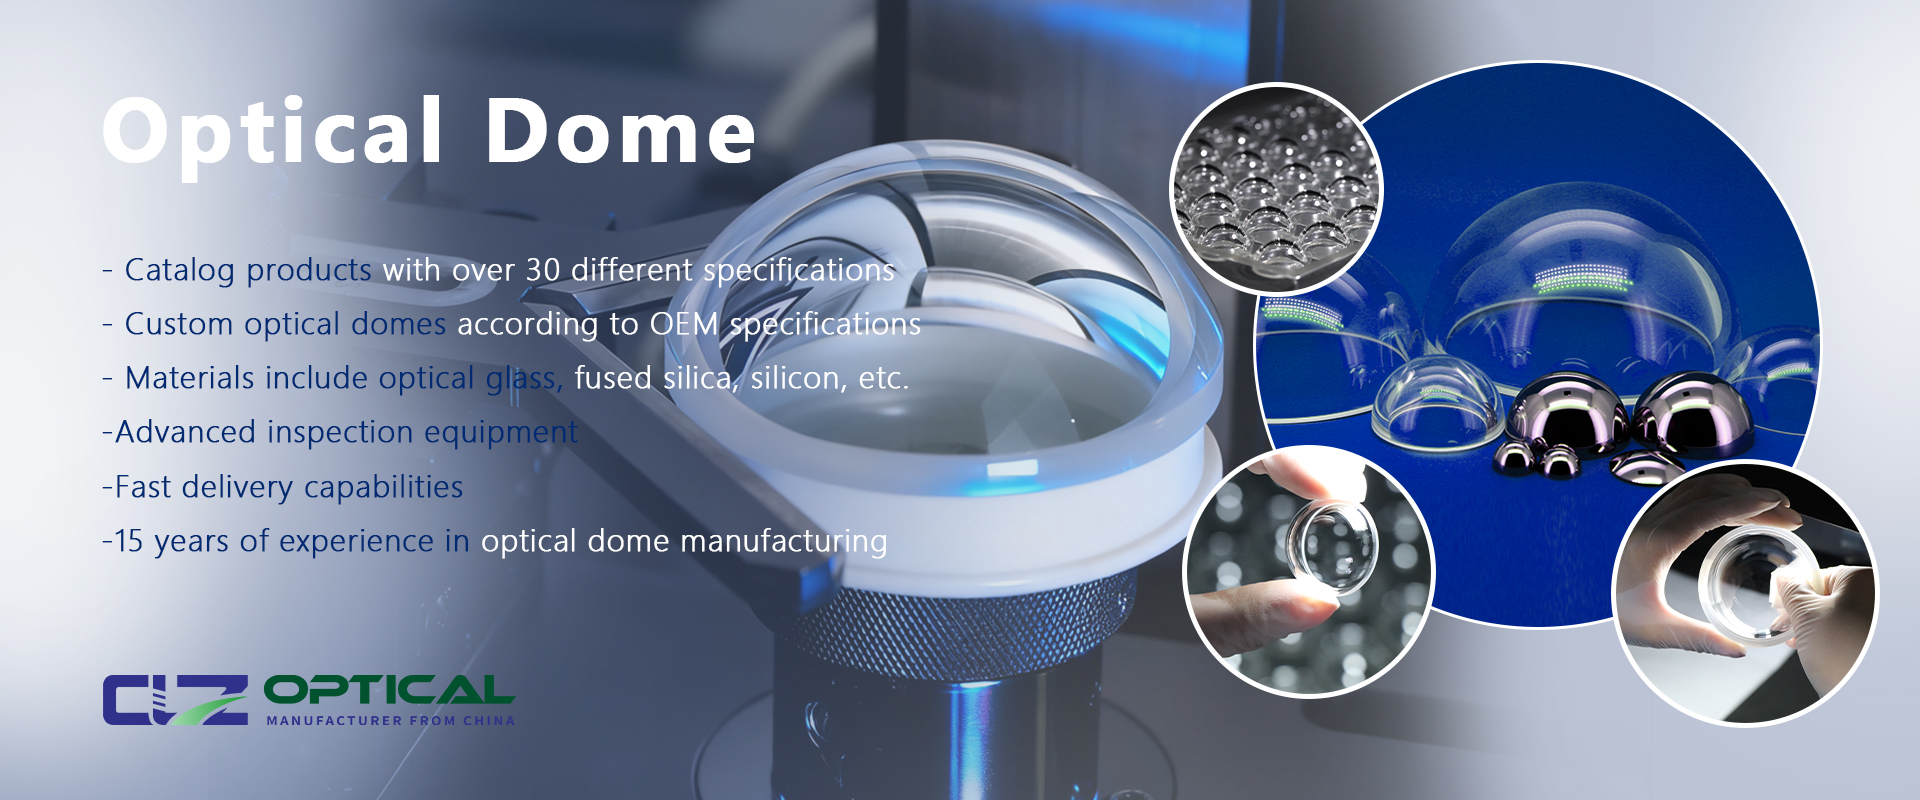
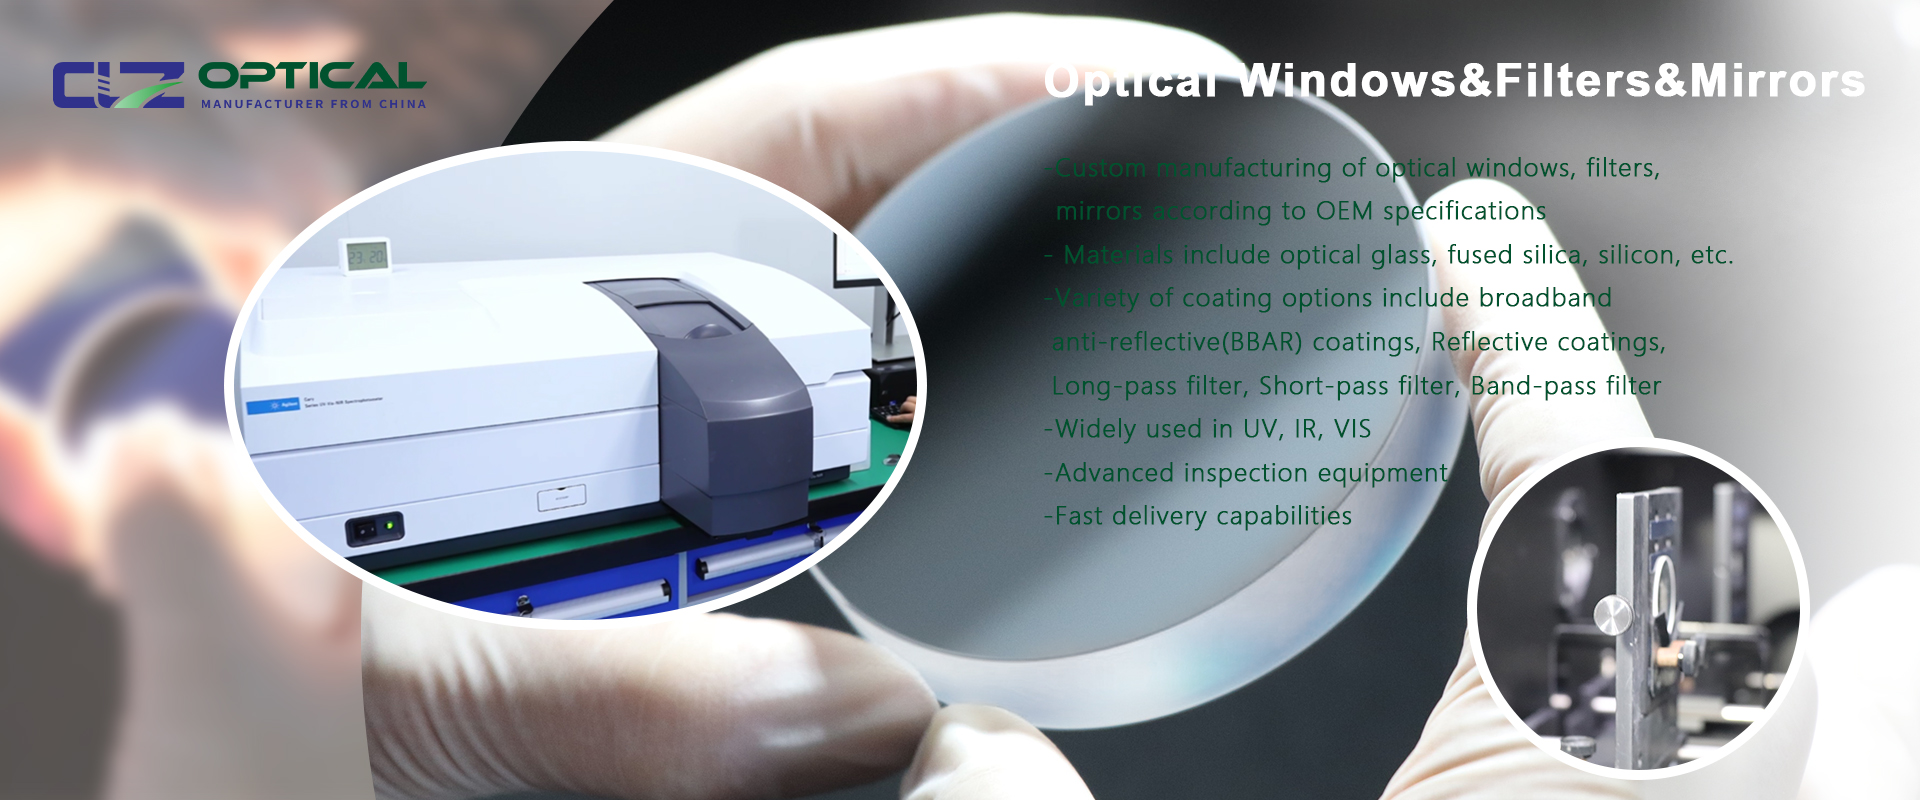
CLZ Optical Co.,Ltd. is a factory specializing in the production of optical components, main products such as optical domes, optical windows, optical prisms, optical filters and so on, we also could provide OEM service, customized for our customer, please contact us free time if you have any needs!
